

Tesla's Repeater Camera System enhances driver safety with 360-degree views, but lenses can be damaged by accidents, stones, or bird droppings, requiring a Tesla repeater camera replacement. DIY replacement involves removing the old lens, inspecting and cleaning the housing, installing a new compatible lens, and testing functionality. Proper care includes regular cleaning, careful handling, garage storage, collision center inspections, and adhering to Tesla service schedules to maximize the lifespan of the camera system.
Tesla owners often face the dilemma of damaged repeater cameras due to scratches or cracks. This concise guide addresses the common issues with Tesla’s repeater camera system and provides a step-by-step solution for replacements. Learn how to identify faulty lenses and perform a do-it-yourself repair, ensuring your vehicle’s advanced driver-assistance system (ADAS) functionality remains intact. Additionally, discover maintenance tips to extend the lifespan of these vital components, emphasizing the importance of regular care for optimal Tesla repeater camera performance.
- Understanding Tesla's Repeater Camera System and Common Issues
- Steps for Replacing a Cracked or Scratched Lens on Your Tesla Camera
- Ensuring Longevity: Tips for Maintaining Your Tesla Repeater Camera After Replacement
Understanding Tesla's Repeater Camera System and Common Issues

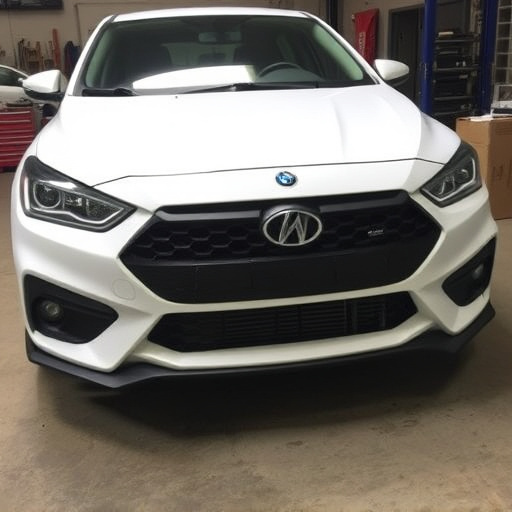
Tesla’s Repeater Camera System is a sophisticated piece of technology designed to enhance safety and driving experience. These cameras are strategically placed around the vehicle, providing drivers with 360-degree visibility, crucial for navigating tight spaces or merging onto highways. The system feeds real-time video to the center display, allowing drivers to monitor their surroundings and make informed decisions. However, like any component, Tesla repeater cameras can encounter issues over time.
Common problems include scratched or cracked lenses, which can impair the camera’s clarity and effectiveness. These damages might occur due to minor accidents, stone chips, or even bird droppings. While a simple car paint repair might fix smaller scratches, more severe cases may require a Tesla repeater camera replacement. Proper frame straightening is essential for ensuring the new camera aligns correctly with the vehicle’s exterior, guaranteeing optimal performance and visibility after the replacement.
Steps for Replacing a Cracked or Scratched Lens on Your Tesla Camera
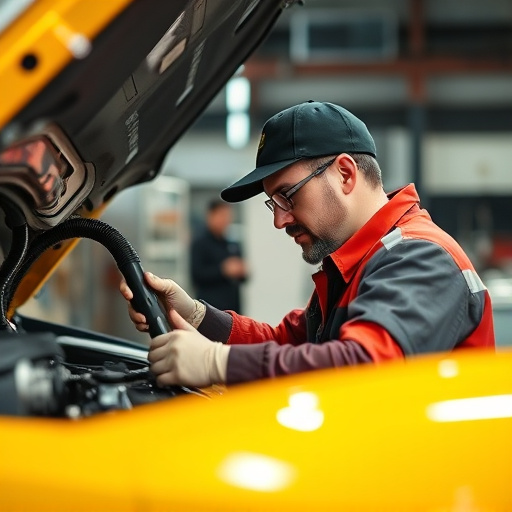
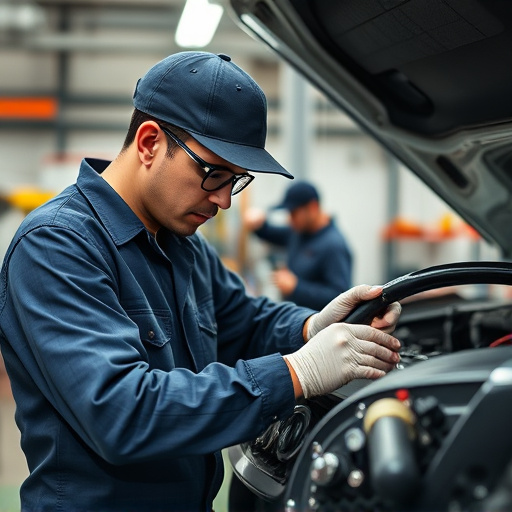
Replacing a scratched or cracked lens on your Tesla repeater camera is a relatively straightforward process that many car owners can handle themselves. First, power down the vehicle and locate the damaged camera. Then, using the appropriate tools, carefully remove the existing lens by unscrewing it from the camera body. It’s crucial to handle the lens with care to avoid further damage. Once removed, inspect the camera housing for any debris or damage that might have contributed to the issue. Clean the area thoroughly and ensure all parts are free from dust or grime.
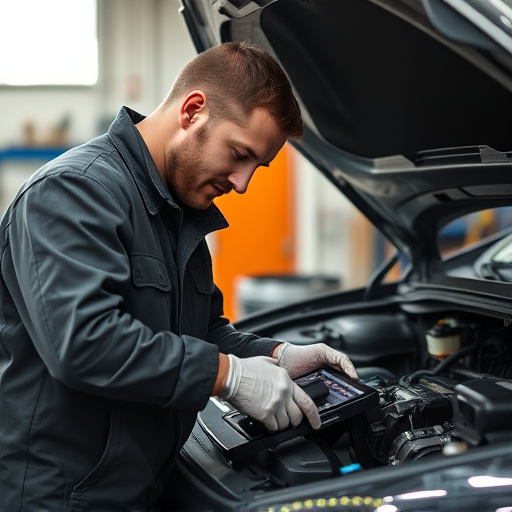
Next, obtain a replacement lens designed specifically for your Tesla model. You can find these through official Tesla parts suppliers or reputable online retailers offering high-quality car body repair components. With the new lens in hand, carefully install it into the camera housing, making sure it is properly seated and secured with the provided screws. Double-check that all connections are tight to ensure optimal performance. After replacing the lens, power on your Tesla and test the repeater camera functionality, confirming its clarity and range have been restored.
Ensuring Longevity: Tips for Maintaining Your Tesla Repeater Camera After Replacement
After successfully replacing your Tesla repeater camera due to a scratched or cracked lens, it’s crucial to implement proper care and maintenance practices to ensure its longevity. Regular cleaning is essential; use a soft microfiber cloth and mild soap to avoid damaging the new lens. Be cautious when handling the camera, as even minor impacts can cause damage. Consider storing your vehicle in a secure garage to prevent accidental collisions or scratches from airborne debris.
Additionally, keeping your Tesla’s vehicle bodywork in excellent condition will contribute to the overall health of your repeater camera. Regular collision center visits for routine inspections and maintenance checks can help identify potential issues early on. Remember, proper upkeep is key; by combining these tips with recommended Tesla service schedules, you’ll maximize the lifespan of your replacement camera, ensuring optimal visibility and safety while driving.
Whether you’ve encountered a scratched or cracked lens on your Tesla repeater camera, this guide has provided the necessary tools and steps for an effective replacement. By following these straightforward instructions, you can ensure your Tesla’s camera system remains in top condition, enhancing safety and peace of mind while driving. Remember, proper maintenance is key to maximizing the lifespan of your Tesla repeater camera replacement.