
Replacing a Tesla repeater camera requires expert EV repair knowledge due to advanced technology. Common issues include distortion and malfunctions, diagnosable via software. The process involves using diagnostic tools, calibrating software for seamless integration with ADAS systems, ensuring high-quality performance after removal of old cameras.
Tesla owners often encounter issues with their repeater cameras, leading to a need for efficient troubleshooting and replacements. This comprehensive guide delves into the process of replacing a Tesla repeater camera using diagnostic software. By understanding the functionality of these cameras, you can quickly identify common problems. Our step-by-step instructions ensure a seamless replacement process, empowering you to maintain your Tesla’s advanced driver-assistance systems (ADAS) and enhance overall safety on the road.
- Understanding Tesla Repeater Camera Functionality
- Troubleshooting Common Issues with Repeater Cameras
- Step-by-Step Guide to Camera Replacement Using Diagnostic Software
Understanding Tesla Repeater Camera Functionality
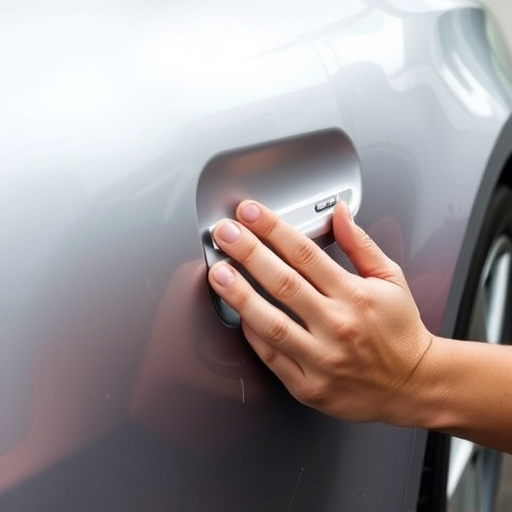
The Tesla repeater camera is a crucial component of the vehicle’s safety and driving aids. Its primary function is to provide a wider field of vision for drivers, especially during low-visibility conditions or when changing lanes. This compact yet powerful camera system captures real-time footage and relays it to the driver’s display, enhancing awareness on the road. It’s not just about improved visibility; it’s also designed to reduce blind spots, thereby enhancing overall safety.
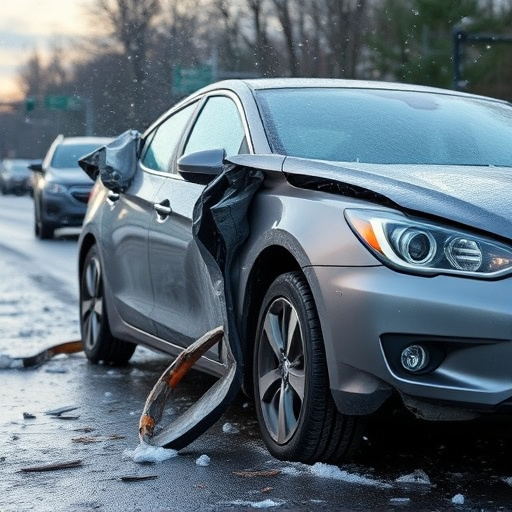
When considering a Tesla repeater camera replacement, whether due to damage or wear and tear, it’s essential to have a basic understanding of its functionality. Vehicle repair services specializing in electric vehicles and their unique systems can offer expert advice. They employ specialized tools, such as Tesla diagnostic software, to confirm compatibility and ensure the new camera seamlessly integrates with your vehicle’s existing network, working in harmony with other advanced driver-assistance systems (ADAS) features found in modern Teslas. This process not only guarantees optimal performance but also aligns with top-quality autobody repairs and collision center standards.
Troubleshooting Common Issues with Repeater Cameras
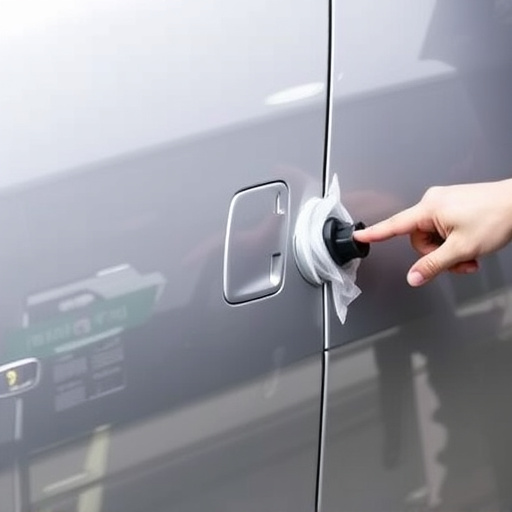
When it comes to Tesla repeater camera replacement, understanding common issues is crucial for a successful fix. Many owners face challenges with these cameras, which play a vital role in the vehicle’s safety features. One frequent problem is camera distortion or poor image quality, often caused by dust accumulation or debris on the lens. Regular cleaning and maintenance can prevent this issue, but if it persists, a replacement may be necessary.
Another common concern is camera malfunction, leading to an inactive or distorted view. This could result from software glitches or hardware failures. Using Tesla diagnostic software can help identify these problems, ensuring accurate diagnosis. For instance, checking for firmware updates or consulting with a professional auto repair shop specializing in electric vehicles (EVs) and their unique systems, like those found in Teslas, can resolve such issues. Compared to traditional auto repair near me, EV repairs require specialized skills and tools to navigate the intricate technology involved, making it essential to seek expert assistance when needed.
Step-by-Step Guide to Camera Replacement Using Diagnostic Software
Performing a Tesla repeater camera replacement is a straightforward process when using the brand’s diagnostic software, offering a convenient solution for auto body repair enthusiasts and professionals alike. Here’s a step-by-step guide to ensure a successful swap:
1. Begin by accessing Tesla’s diagnostic software, which allows you to identify and troubleshoot various vehicle systems, including camera functionality. Connect your laptop or diagnostic tool to the Tesla via the OBD-II port.
2. Launch the software and navigate to the ‘Camera’ or ‘Vision’ menu, depending on your interface. Locate the repeater camera system on the list, typically identified by its unique code or name. Select it to access detailed information.
3. Verify that a replacement is needed by checking the camera’s status and any error codes associated with it. If the software confirms a faulty or outdated camera, proceed with the next steps.
4. Obtain a compatible Tesla repeater camera from an authorized dealer or online retailer. Ensure it matches your vehicle’s specifications for a seamless fit.
5. Power down the car and locate the camera module, usually behind the rear-view mirror or in the trunk area. Carefully remove the existing camera by detaching any wiring connectors.
6. Install the new repeater camera by aligning its mounting points with the original holes. Secure it with the appropriate fasteners and ensure all connections are tight.
7. Once the physical replacement is complete, reconnect the wiring and power on the vehicle. Use the diagnostic software to calibrate the new camera, following the on-screen instructions for a successful integration.
Replacing a Tesla repeater camera is now a straightforward process thanks to the integration of diagnostic software. By following the step-by-step guide outlined in this article, car owners can efficiently resolve common issues and ensure their Tesla’s backup cameras function optimally. This DIY approach not only saves on repair costs but also empowers owners to take control of maintaining their vehicle’s advanced safety features, ultimately enhancing their driving experience. For those considering a Tesla repeater camera replacement, this comprehensive guide is a valuable resource.