


Tesla repeater camera replacements are needed due to technical glitches, physical damage, extreme weather, or regular wear and tear, causing distorted or non-functional images. Benefits include instant resolution for enhanced safety and convenience, long-term cost savings, and maintaining original equipment quality. The DIY-friendly installation process involves disconnecting the battery, removing the old camera, installing the new one, reconnecting the battery, and testing functionality. Regular checks and replacements ensure optimal visibility and safe driving conditions.
Is your Tesla’s repeater camera blurry or non-functional? Don’t worry, you’re not alone. Many Tesla owners face this issue. This comprehensive guide delves into the common problems with Tesla repeater cameras and provides a clear solution: Tesla repeater camera replacement. We explore why replacing a damaged camera is often more cost-effective than repairing it, and offer a step-by-step installation guide to help you get back to enjoying crystal-clear rear-view images.
- Understanding Tesla Repeater Camera Issues
- Why Choose Replacement Over Repair?
- Step-by-Step Guide to Installing a New Camera
Understanding Tesla Repeater Camera Issues
The Tesla repeater camera, designed to enhance rear visibility, can sometimes fall victim to technical glitches or physical damage, leading to a distorted or non-functional image. This issue is particularly concerning for Tesla owners as it impacts their driving experience and safety features. Understanding the common causes of these problems is the first step in addressing them effectively.
Various factors can contribute to a repeater camera malfunction. These include exposure to extreme weather conditions, such as heavy rain or snow, which can lead to water damage and clouded visuals. Moreover, physical impacts during vehicle collisions or even accidental bumps can cause the camera’s internal components to shift, resulting in blurry or black screens. Regular wear and tear over time might also contribute to image degradation. Tesla repeater camera replacement becomes a necessary solution when these issues persist, ensuring optimal visibility for drivers and maintaining the overall efficiency of the vehicle repair process.
Why Choose Replacement Over Repair?
When considering options for a flawed Tesla repeater camera, many owners ponder whether to opt for a replacement or seek repairs. While minor glitches can sometimes be fixed through conventional auto body repairs, more significant issues like blurry or non-functional cameras often necessitate a complete swap. Choosing a Tesla repeater camera replacement offers several advantages. Firstly, it ensures instant resolution, providing you with a clear view while driving, which is paramount for safety and convenience. Secondly, replacing the camera can be more cost-effective in the long run compared to frequent repairs, especially if the issue persists after initial fixes. Furthermore, a replacement guarantees that your Tesla retains its original equipment quality, aligning with the brand’s reputation for innovation and precision engineering.
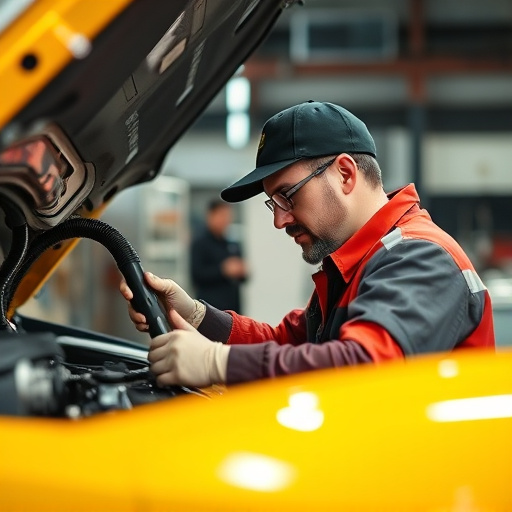
Step-by-Step Guide to Installing a New Camera
Installing a new Tesla repeater camera is a straightforward process that many car owners can handle as part of their regular auto maintenance routine. Here’s a step-by-step guide to ensure a successful Tesla repeater camera replacement:
1. Power Off and Disconnect: Begin by turning off your vehicle and disconnecting the battery. Safety first! This will prevent any short circuits or accidental starts while you work.
2. Access the Camera Location: Locate the repeater camera, typically found on the exterior of your Tesla. This could be on the rear view mirror or in other models, on the door handles or fenders. Use a screwdriver to carefully remove any covering or trim around the camera area, revealing the lens and hardware.
3. Remove the Old Camera: Unscrew and carefully pull out the old camera assembly. Take note of how it was installed, as this will help when reattaching the new one.
4. Install the New Camera: Align the new camera with the mounting holes and secure it in place using the provided screws or bolts. Make sure it’s tightly fastened but avoid over-tightening to prevent damage.
5. Reconnect and Test: Reconnect the battery and power on your vehicle. Adjust settings as needed, and test the camera functionality from both inside and outside the car. If everything looks clear and sharp, congratulations! Your Tesla repeater camera replacement is complete. Don’t forget that regular auto maintenance includes checking these components to ensure optimal visibility and safe driving conditions.
Facing blurry or non-functional Tesla repeater cameras can significantly impact your driving experience. However, with the right approach, you can easily resolve these issues through a Tesla repeater camera replacement. Understanding the common problems and deciding to replace rather than repair can offer a more cost-effective and time-saving solution. Following our step-by-step guide, you’ll be able to install a new camera and restore your vehicle’s rear-view capabilities promptly. Remember, a clear view is essential for safe driving, so don’t hesitate to embark on this DIY project or consult a professional when needed.