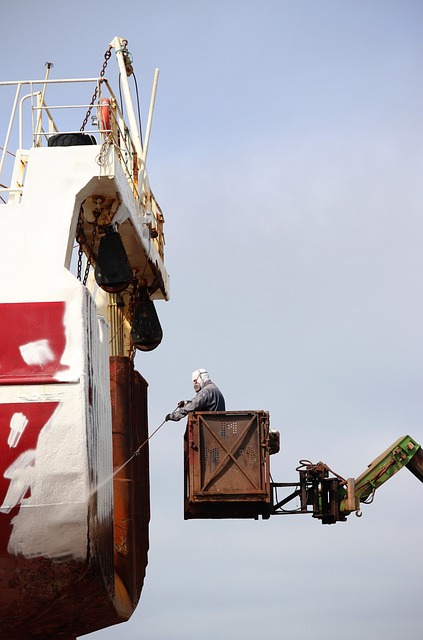

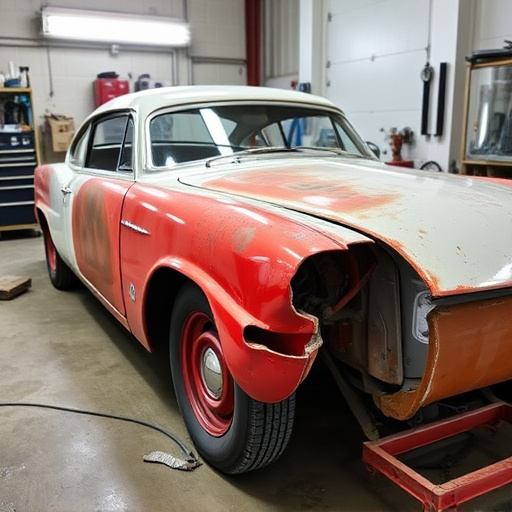
Tesla repeater camera replacement is crucial for Autopilot and ADAS safety. Cameras provide 360° visibility, susceptible to damage requiring timely swap. Proper calibration through specialized services ensures optimal performance. Six-step guide emphasizes safe replacement: park vehicle, locate camera, disconnect electricals, remove old, install new with precision, reassemble & calibrate per Tesla procedures. Consult service manual for model-specific instructions.
“Tesla owners often rely on their vehicle’s Autopilot and advanced driver-assistance systems (ADAS) for safer driving. A critical component in this system is the repeater camera, which ensures optimal visibility for Autopilot calibration. This article explores the importance of replacing these cameras to maintain the accuracy of Tesla’s Autopilot functionality. We’ll guide you through the process, offering a step-by-step tutorial on successfully replacing a Tesla repeater camera, ensuring your vehicle’s ADAS remain calibrated and reliable.”
- Understanding Tesla's Repeater Camera System
- Why Replace Autopilot Calibration Cameras
- Step-by-Step Guide: Camera Replacement Process
Understanding Tesla's Repeater Camera System
Tesla’s repeater camera system is a critical component of its Autopilot and advanced driver-assistance systems (ADAS). These cameras play a pivotal role in enhancing safety by providing real-time visual data for navigation, collision avoidance, and parking assistance. The repeater cameras are strategically positioned to offer a 360-degree view around the vehicle, ensuring drivers have clear visibility when backing up or navigating tight spaces.
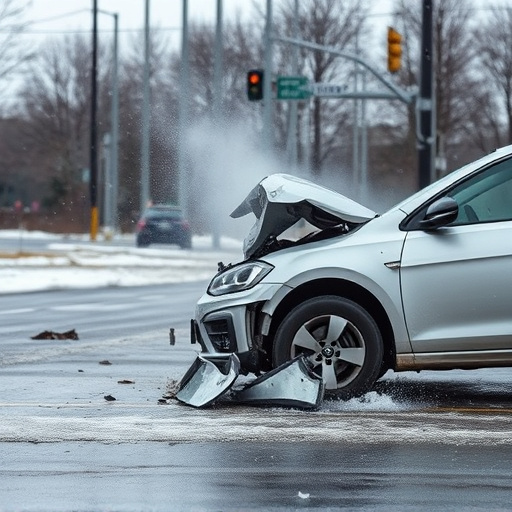
When it comes to Tesla repeater camera replacement, whether due to damage from accidents (requiring collision repair services) or wear over time, proper calibration is essential. This involves not just swapping out the physical camera but also recalibrating the Autopilot system to ensure the new camera aligns seamlessly with the vehicle’s safety and assistance functions. Professional fleet repair services often specialize in this process, guaranteeing that Tesla vehicles maintain their advanced driver-assistance capabilities after any necessary camera replacements.
Why Replace Autopilot Calibration Cameras
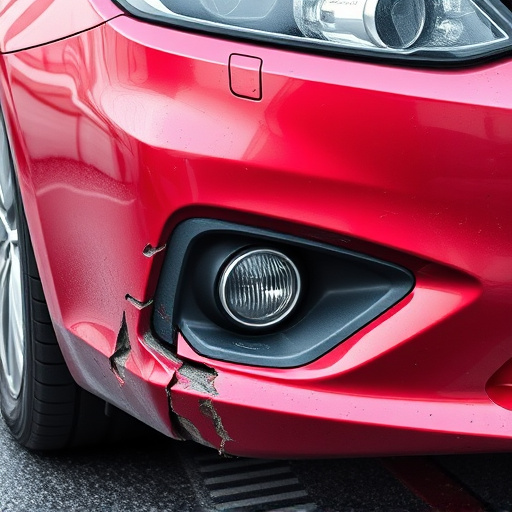
The Tesla repeater camera replacement is a crucial aspect of maintaining the vehicle’s advanced driver-assistance systems (ADAS), particularly Autopilot. Over time, these cameras can become damaged or obstructed due to various factors like road debris, accidental impacts, or even normal wear and tear. When this occurs, it’s essential to replace them promptly for several reasons.
Firstly, the Autopilot system relies heavily on accurate camera data for calibration, which is vital for safe and effective autonomous driving. A faulty or missing camera can lead to incorrect readings, affecting the car’s ability to perceive its surroundings accurately. Regular Tesla repeater camera replacement ensures that the vehicle’s software remains calibrated, enabling the Autopilot to function optimally and enhancing overall safety on the road. This is particularly important as many collision repair centers emphasize the need for precise ADAS recalibration after any impact or body work, ensuring your car drives as smoothly and securely as possible.
Step-by-Step Guide: Camera Replacement Process

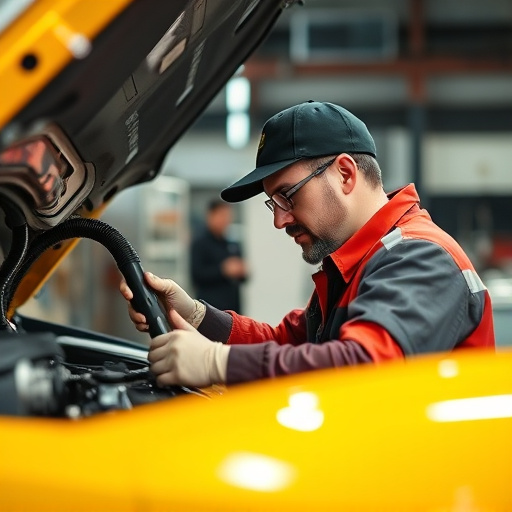
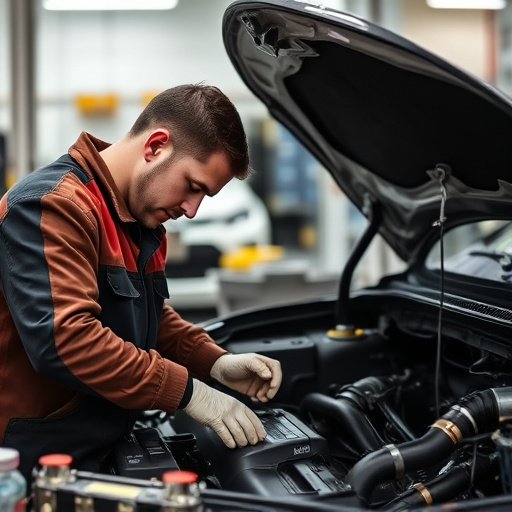
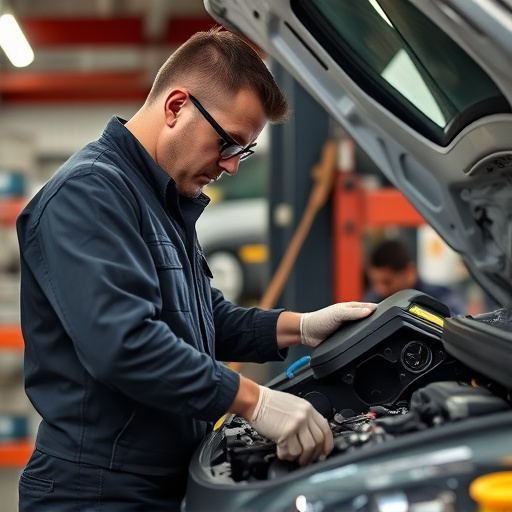
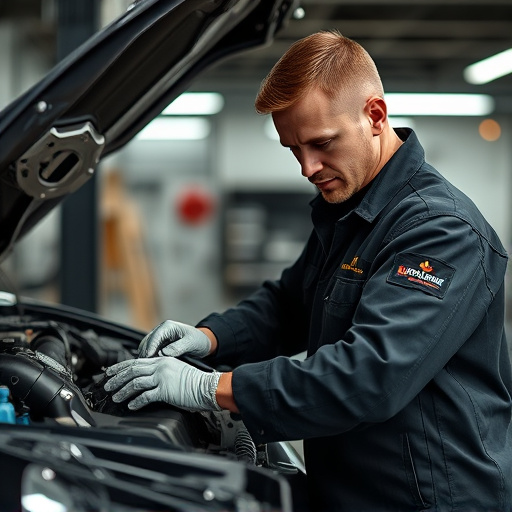
Replacing a Tesla repeater camera is a process that requires precision and a clear understanding of your vehicle’s systems. Here’s a detailed step-by-step guide to help you through the task, ensuring your Tesla’s Autopilot functionality remains calibrated and optimized.
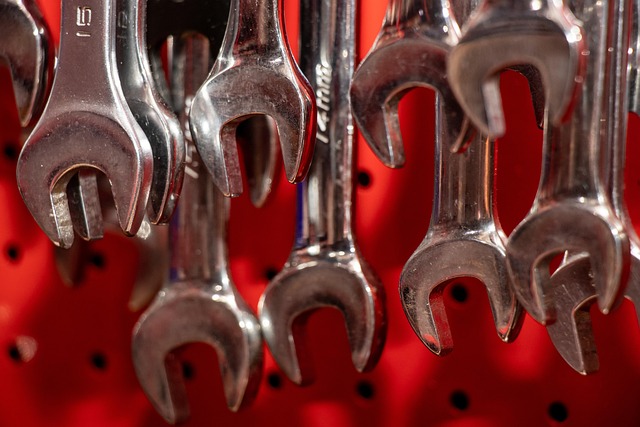
1. Safety First: Begin by ensuring your vehicle is safely parked on a level surface with all necessary tools at hand. Turn off the engine and apply the parking brake. Safety glasses are recommended as protective gear.
2. Identify the Repeater Camera: Locate the repeater camera, usually found in the rear-view mirror assembly or along the car’s body panels. This is a crucial component for Autopilot functionality, providing additional visibility around your vehicle.
3. Disconnect Electrical Connections: Before you begin physical work, carefully disconnect the electrical connections to the repeater camera. This prevents any short circuits and ensures safe removal.
4. Remove the Old Camera: Carefully disassemble the outer components of the repeater camera assembly. Depending on your Tesla model, this might involve unscrewing or unclipping various parts. Take note of where each component goes for an easy reassembly later.
5. Install the New Camera: Insert the new repeater camera, ensuring it aligns perfectly with the existing mounting points. Secure it in place using the appropriate fasteners, following the manufacturer’s guidelines.
6. Reassemble and Calibrate: Put back together the outer components you removed earlier. Ensure all pieces fit snugly. Now, connect the electrical connections to the new camera and power on your Tesla. Finally, calibrate the Autopilot system as per Tesla’s official guidelines, which may involve a drive around the block or through specific maneuvers to adjust settings accurately.
Remember that while this guide provides a general framework for Tesla repeater camera replacement, each vehicle model might have unique variations in design and assembly procedures. Always consult your vehicle’s service manual for detailed instructions specific to your Tesla model.
Tesla repeater camera replacement is a crucial process for maintaining optimal Autopilot functionality. By replacing these cameras, vehicle owners can ensure accurate calibration and enhanced safety features. Understanding the system and following a structured guide facilitates a successful replacement, allowing drivers to navigate the road with increased confidence in their car’s advanced driver-assistance systems.