Replacing a Tesla repeater camera requires precision alignment and sealing for water resistance. Use high-quality parts from reputable suppliers to avoid water damage. A step-by-step guide emphasizes safety measures like parking, glove use, battery disconnection, and testing to ensure successful installation while maintaining vehicle functionality.
When it comes to replacing a Tesla repeater camera, maintaining the vehicle’s waterproof integrity is paramount. This guide delves into the essential aspects of this process, ensuring your Tesla remains protected against the elements. We explore the unique waterproof design of the Tesla repeater camera and highlight the importance of choosing compatible, high-quality replacements. With a detailed step-by-step installation guide, you’ll learn how to safely remove and install new cameras, preserving your Tesla’s water resistance.
- Understanding Tesla Repeater Camera's Waterproof Design
- Choosing the Right Replacement for Optimal Protection
- Step-by-Step Guide: Safe Removal and Installation
Understanding Tesla Repeater Camera's Waterproof Design
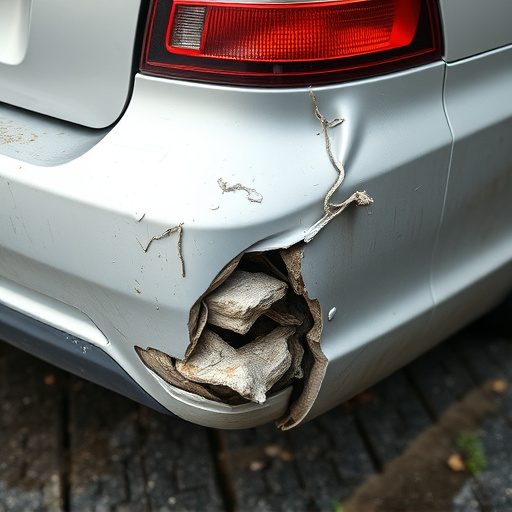
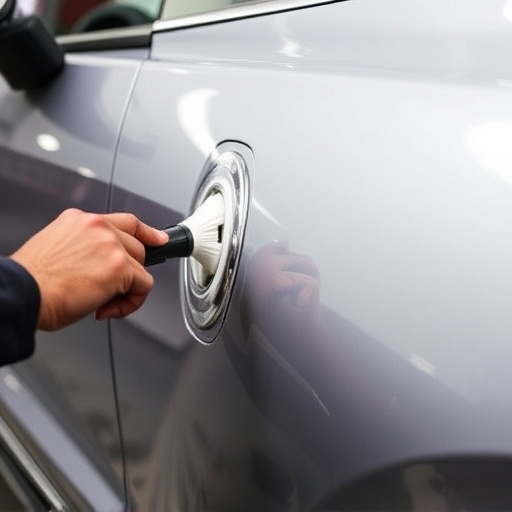
The Tesla Repeater Camera is renowned for its sophisticated waterproof design, a cornerstone of its durability and reliability. This camera, strategically integrated into Tesla vehicles, is designed to withstand harsh weather conditions, ensuring optimal visibility for drivers. Its water-tight housing and advanced sealing mechanisms are pivotal in preventing moisture ingress, which could potentially compromise the camera’s functionality or even cause damage to the vehicle’s interior.
When considering a Tesla repeater camera replacement, it’s paramount to maintain this waterproof integrity. Unlike routine car dent repair or autobody repairs, replacing this specific component requires a nuanced approach. The new camera must be precisely aligned and sealed, adhering to Tesla’s stringent standards, to ensure the vehicle’s overall water resistance remains unaltered. This meticulous process guarantees that drivers enjoy uninterrupted rear-view assistance, rain or shine.
Choosing the Right Replacement for Optimal Protection
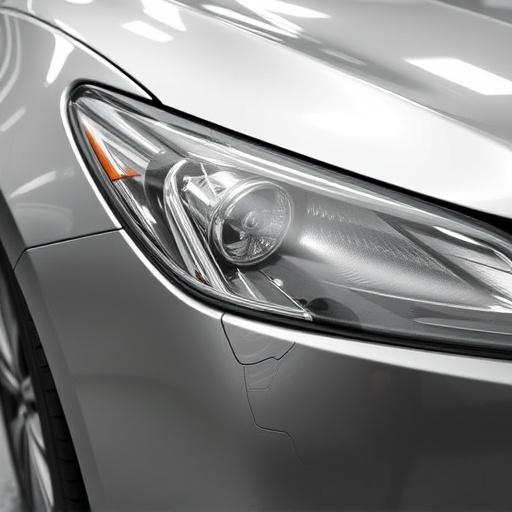
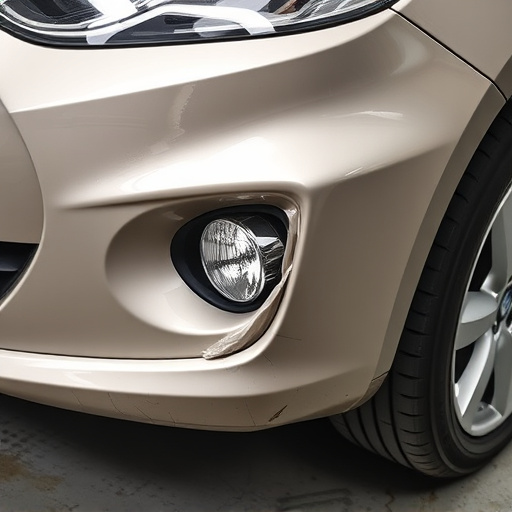
When it comes to replacing a Tesla repeater camera, ensuring optimal protection is paramount. The key lies in selecting a replacement that perfectly matches the original specifications, especially regarding waterproof integrity. Not all camera replacements are created equal; some may lack the necessary seals or use subpar materials, compromising the vehicle’s overall protection against water intrusion and potential damage.
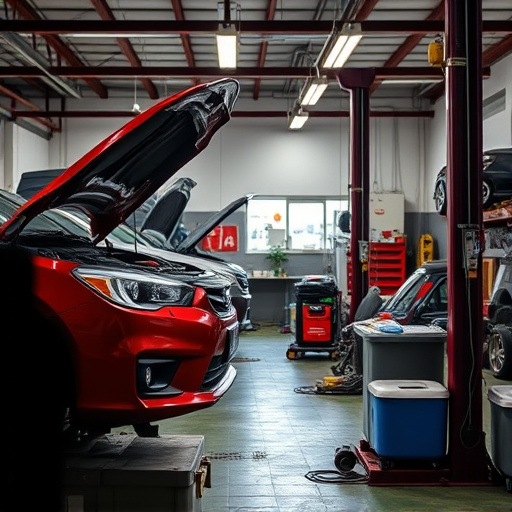
Choosing a high-quality Tesla repeater camera replacement from a reputable supplier is crucial. This involves verifying that the new camera has been designed to withstand extreme weather conditions and maintain its waterproof rating. Reputable vehicle body shops often carry such parts, offering expert advice on compatibility and ensuring a seamless installation process without compromising your Tesla’s original design or protection features.
Step-by-Step Guide: Safe Removal and Installation
Step-by-Step Guide: Safe Removal and Installation of Tesla Repeater Camera Replacement
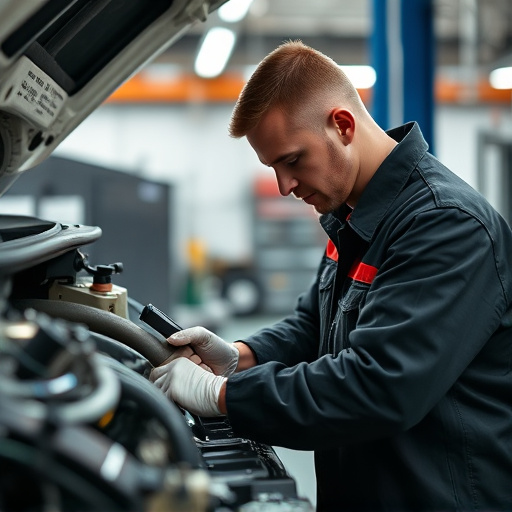
1. Safety First: Before beginning any Tesla repeater camera replacement, ensure your vehicle is parked in a safe, level location. Engage the parking brake and block wheels for stability. Put on protective gloves to avoid fingerprints and damage during the process.
2. Power Off: Disconnect the car battery negative terminal to prevent electrical interference or accidental operation of components while working. This step is crucial in automotive repair to ensure safety.
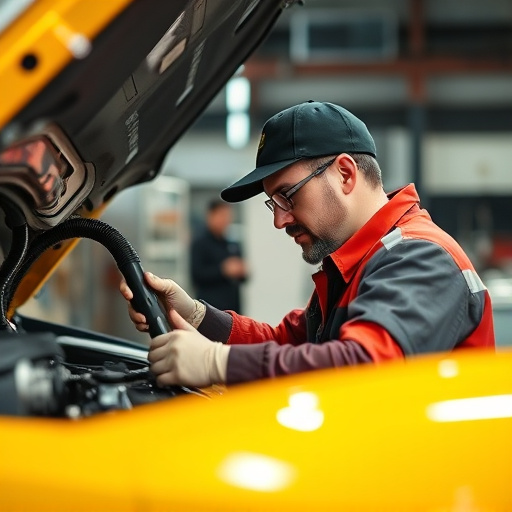
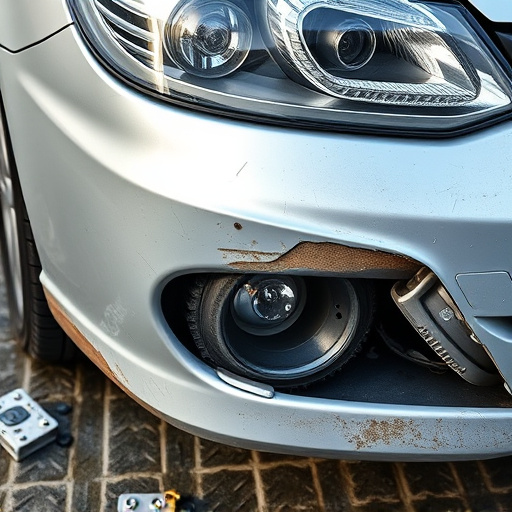
3. Accessing the Camera: Locate the Tesla repeater camera, usually found on the exterior of the vehicle. Use a flashlight if needed to visualize the area clearly. Begin disassembling the surrounding components carefully, one piece at a time, to gain access without damaging other parts or the car bodywork.
4. Remove Old Camera: Once accessible, unfasten and remove the old repeater camera with the appropriate tools. Take note of its orientation and how it was secured for future reference. Clean the mounting area to ensure proper adherence of the new camera.
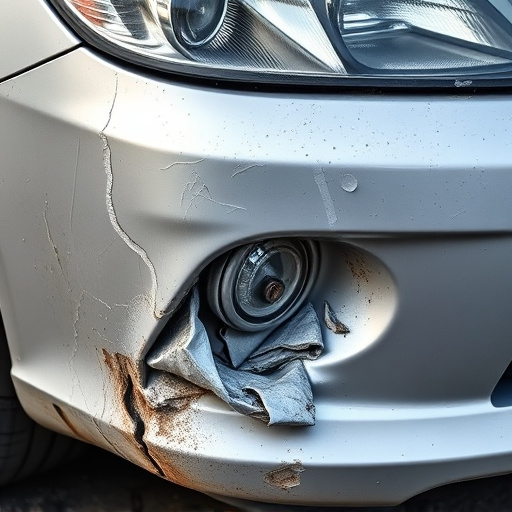
5. Install New Camera: Position the new Tesla repeater camera accurately, ensuring waterproof integrity is maintained. Reattach all components in reverse order from removal, securing them firmly but avoiding excessive force that could damage the car bodywork or internal parts.
6. Test and Seal: After installation, test the new camera’s functionality thoroughly. Once confirmed working properly, reapply sealant or caulk around the mounting area if required, preserving the waterproof integrity of your vehicle.
When replacing a Tesla repeater camera, ensuring waterproof integrity is paramount. By understanding the vehicle’s unique water-resistant design and selecting a compatible, high-quality replacement, you can maintain optimal protection against the elements. Following a meticulous installation process that prioritizes safety, you’ll have peace of mind knowing your Tesla remains shielded from potential damage caused by moisture intrusion. Remember, a proper Tesla repeater camera replacement is an investment in your vehicle’s longevity and performance.