
Tesla repeater camera replacement is a detailed process demanding automotive knowledge and precision. It involves disassembling side marker lights, inspecting bodywork for damage, installing new cameras, and reassembling with meticulous care to maintain both functionality and Tesla's aesthetic appeal, best handled by professional collision centers. Match new cameras to specific model variations for accurate placement and seamless integration.
“Looking to replace your Tesla repeater camera? This comprehensive guide demystifies the process, focusing on a crucial step: disassembling the side markers. We break down the task into clear, step-by-step instructions for a seamless replacement. Key considerations ensure proper fit and optimal performance. From identifying compatible parts to reinstallation tips, this guide is your go-to resource for a successful Tesla repeater camera replacement.”
- Demystifying Tesla Repeater Camera Replacement Process
- Disassembling Side Markers: A Step-by-Step Guide
- Ensuring Proper Fit: Key Considerations for Replacement
Demystifying Tesla Repeater Camera Replacement Process
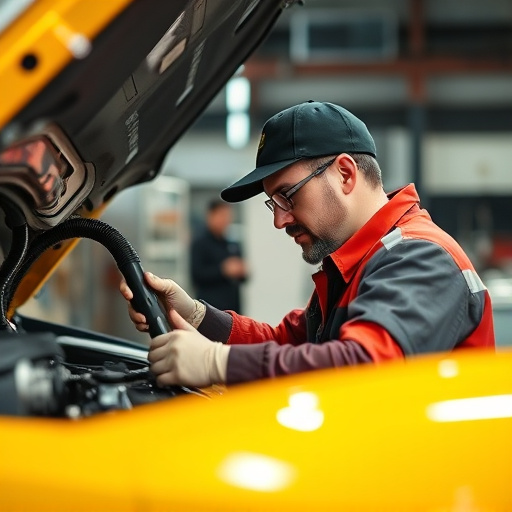
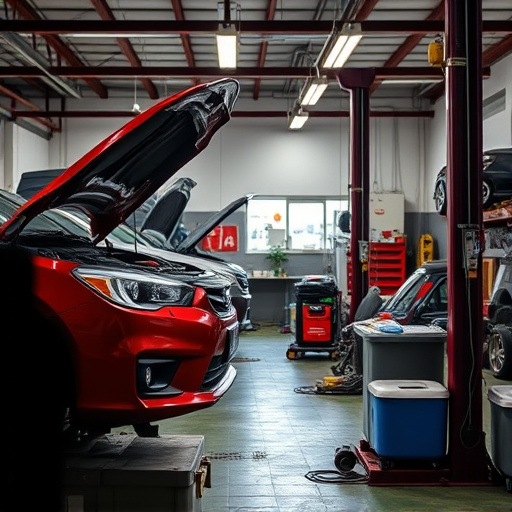
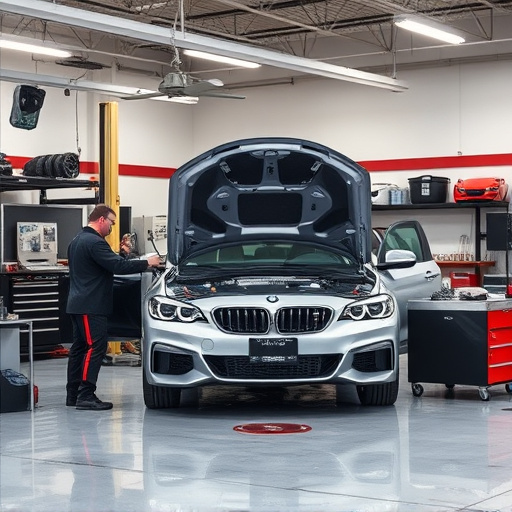
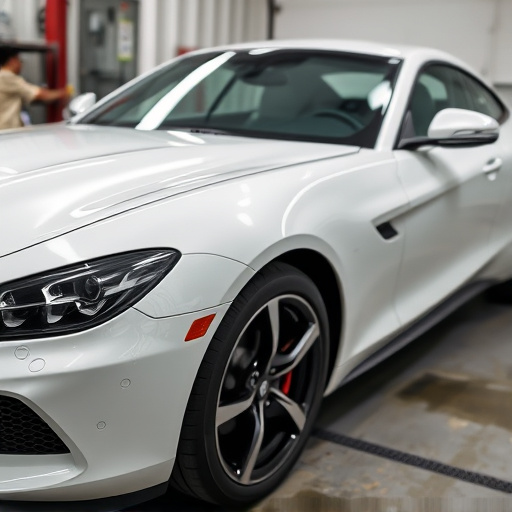
Replacing a Tesla repeater camera involves more than just swapping out a component—it’s a process that requires understanding the intricate relationship between car bodywork and advanced technology. The first step in demystifying this process is recognizing that Tesla vehicles are meticulously engineered, with each part contributing to both safety and aesthetics. When it comes to the repeater camera, located near side markers, disassembly of these markers is crucial to access the camera assembly. This involves carefully removing the fender, which requires precision and a good set of tools.
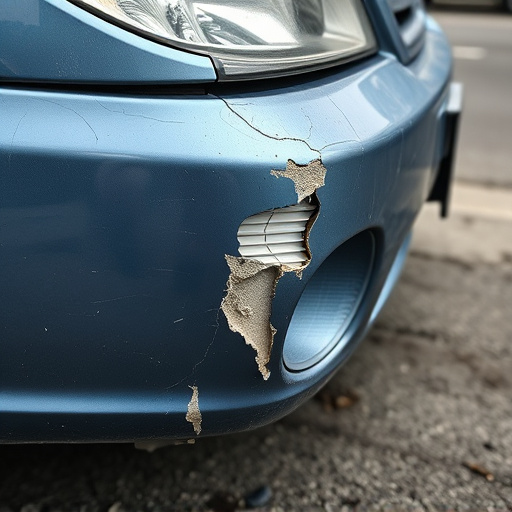
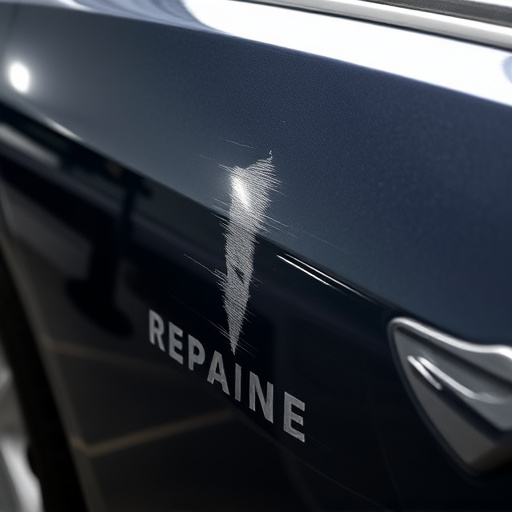
Once the fender is removed, technicians can inspect the car bodywork for any signs of damage or wear that might have caused the original camera’s failure. It’s not just about replacing a camera; it’s about ensuring the integrity of the vehicle body repair. After identifying the issue, a new camera is installed, and the side markers are meticulously reassembled, maintaining the sleek and modern appearance for which Tesla vehicles are known. This process highlights the importance of professional craftsmanship in car bodywork and fender repair to ensure both functionality and style.
Disassembling Side Markers: A Step-by-Step Guide
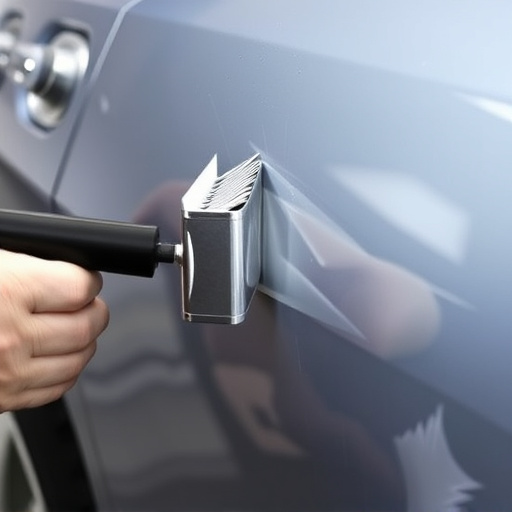
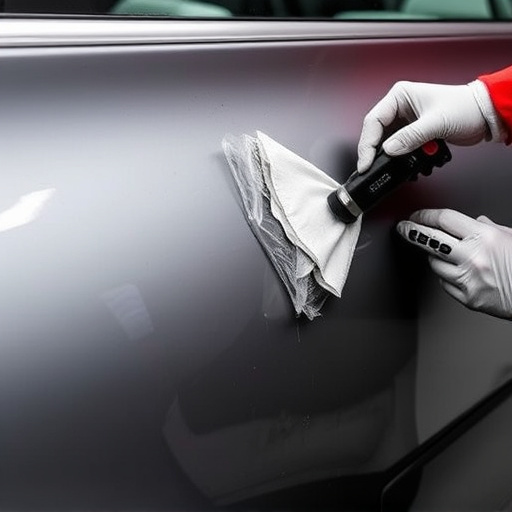
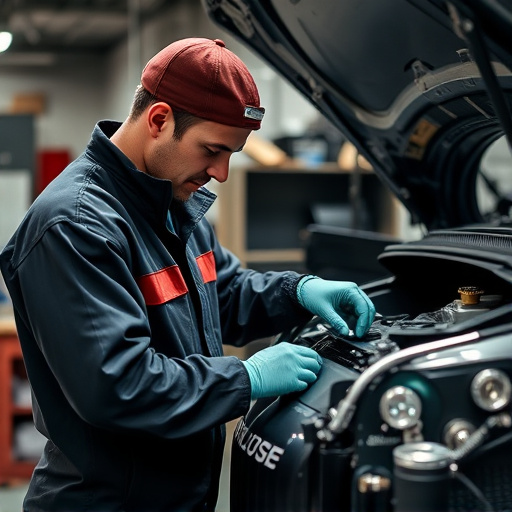
Disassembling side markers is a crucial step in the Tesla repeater camera replacement process. Begin by locating and accessing the exterior side marker lights, typically found on either side of the vehicle’s door or fender. Next, carefully remove any visible screws or fasteners securing the marker to its housing. Depending on your model, these might be Phillips-head, flathead, or Torx screws. Once freed, gently pull the marker away from the body panel. Take note of how it is connected and any wires attached for future reference during reassembly.
The next step involves disengaging the electrical connections. Identify the harness or cable running to the side marker and carefully unplug it from the vehicle’s wiring system. Use a detailed guide specific to your Tesla model, as these connections can vary. After the marker is fully detached, set it aside for later use in creating a template for new camera placement. This meticulous disassembly ensures that replacement parts fit seamlessly, offering optimal performance and aesthetic harmony with your car’s exterior, requiring top-notch body shop services if assistance is needed for complex models. Remember, accurate disassembly facilitates efficient auto body repair during the Tesla repeater camera replacement process.
Ensuring Proper Fit: Key Considerations for Replacement
When replacing a Tesla repeater camera, ensuring proper fit is paramount to avoid future issues and maintain the vehicle’s aesthetic. Key considerations include matching the new camera with the exact specifications of your Tesla model, as different variants may have variations in camera placement and size. The process involves careful disassembly of the side marker lights, which require precise handling to prevent damage.
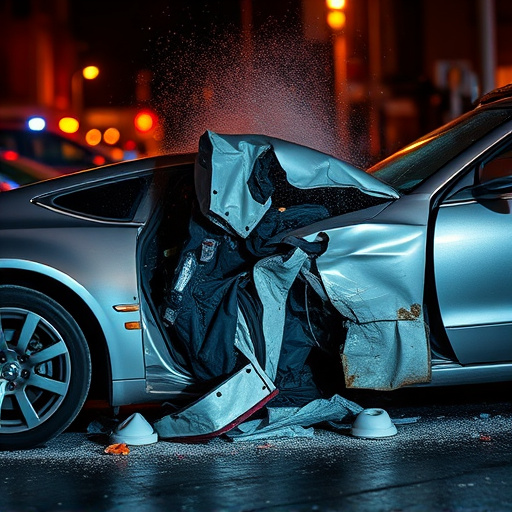
Additionally, understanding the car body restoration process is crucial. In the event of a collision or damage, auto collision centers offer expert car repair services that can restore your Tesla to its original condition while ensuring all components, including the repeater cameras, are accurately replaced and reintegrated seamlessly into the vehicle’s exterior.
Replacing a Tesla repeater camera involves a thoughtful, methodical approach. By understanding the disassembly process of side markers and considering key fitment aspects, owners can ensure a seamless update to their vehicle’s safety features. This guide has demystified the steps, making it easier for both professionals and enthusiasts to navigate the Tesla repeater camera replacement process with confidence.