
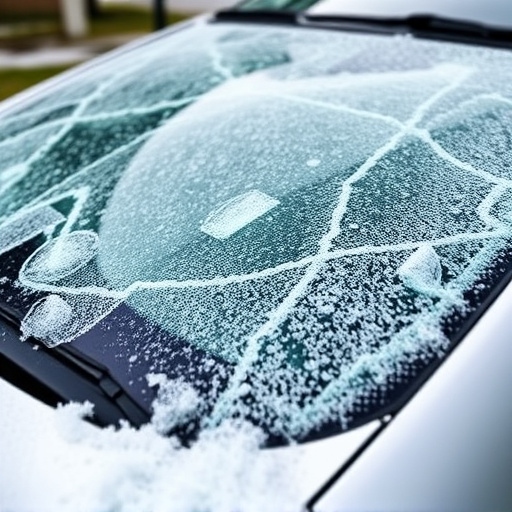
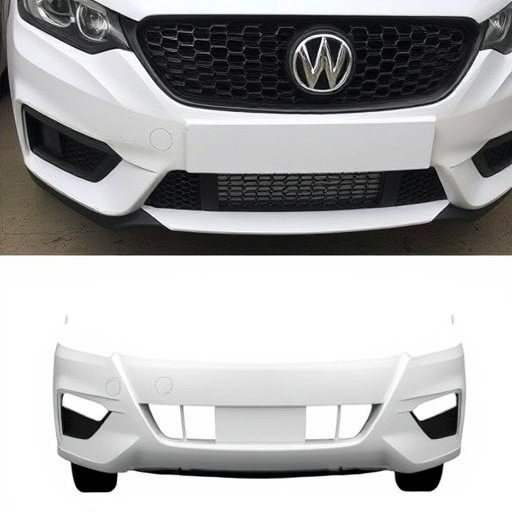
The Tesla repeater camera is a critical component for ADAS safety features. Damage requires replacement to maintain up-to-date software and effective system performance. Regular replacements optimize accuracy, meet autonomous standards, and ensure a seamless driving experience. This guide details the steps for replacing the camera, emphasizing proper installation for enhanced visuals during navigation and parking aid. Professional assistance is recommended for complex tasks.
Tesla owners looking to enhance their vehicle’s safety and technology can now easily upgrade with a Tesla repeater camera replacement. This guide delves into the essential functions of the repeater camera, highlighting its role in supporting Tesla’s Vision System updates. By replacing these cameras, drivers gain improved visibility, enhanced night vision capabilities, and seamless integration with advanced driver-assistance features. We provide a step-by-step installation process to ensure a smooth upgrade experience for your Tesla.
- Understanding Tesla Repeater Camera Functions
- Benefits of Camera Replacement for Vision System Updates
- Step-by-Step Guide to Efficient Installation
Understanding Tesla Repeater Camera Functions

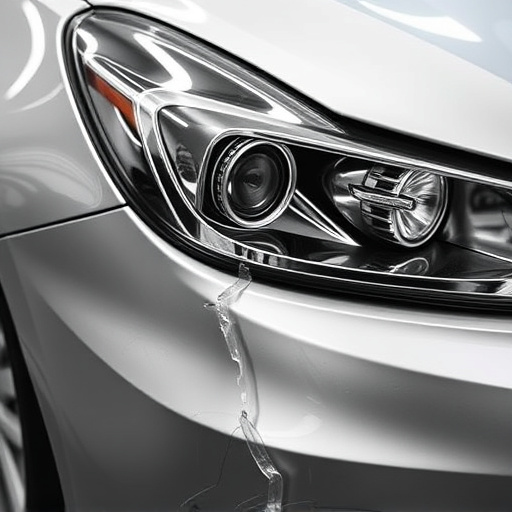
The Tesla repeater camera is a crucial component of the vehicle’s advanced driver-assistance systems (ADAS), including its Vision System. This camera acts as a secondary eye for the car, providing enhanced visibility and safety features. Its primary function is to display rearward images on the center touchscreen, allowing drivers to monitor their surroundings during parking or low-speed maneuvers. By replacing this camera, Tesla owners can support updates to the Vision System, ensuring their vehicle stays current with the latest safety technology.
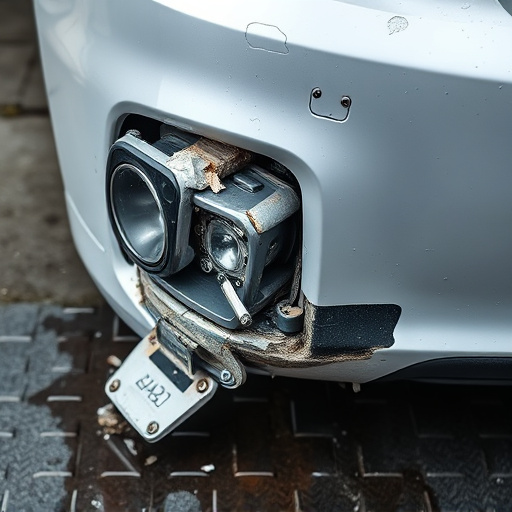
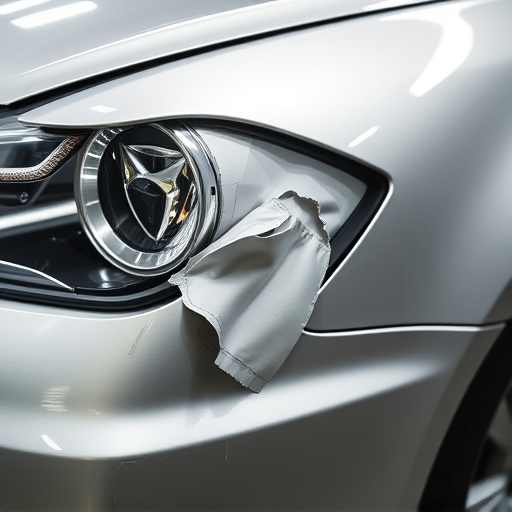
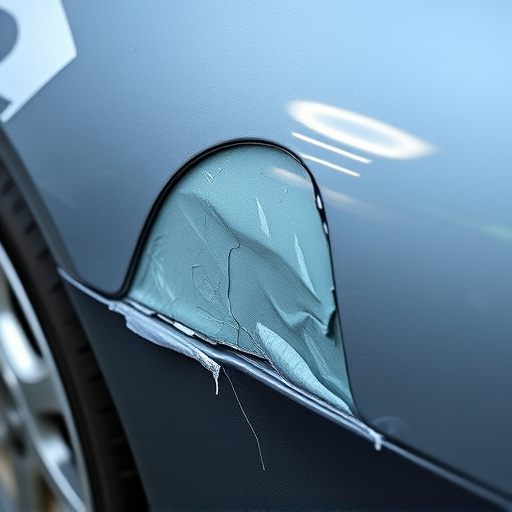
Understanding the repeater camera’s role in collision repair and car damage repair is essential. When a car sustains damage, such as a dent or scratch, it can impact the camera’s performance, leading to distorted images or even failure. A Tesla repeater camera replacement becomes necessary when the existing unit is damaged during a collision or shows signs of malfunction. This simple upgrade enables drivers to regain access to critical safety features and enhances their overall driving experience, ensuring peace of mind on the road.
Benefits of Camera Replacement for Vision System Updates
Replacing a Tesla repeater camera is a strategic move to facilitate Vision System updates, proving beneficial for several reasons. Firstly, it ensures your Tesla’s advanced driver-assistance systems (ADAS) function optimally. Over time, cameras can degrade or become obscured by environmental factors, impacting the accuracy of these systems. Regular camera replacements mitigate this risk and maintain the safety features that define modern Tesla vehicles.
Moreover, staying current with updates allows you to harness the latest improvements in Tesla’s Vision System software. This includes enhanced object detection, improved night vision capabilities, and more precise lane-keeping assistance. For car body shops specializing in Tesla repairs or enthusiasts engaging in classic car restoration, keeping up with these updates is not just about maintaining functionality; it’s also about ensuring your vehicle remains competitive and aligns with the ever-evolving standards of autonomous driving technology.
Step-by-Step Guide to Efficient Installation
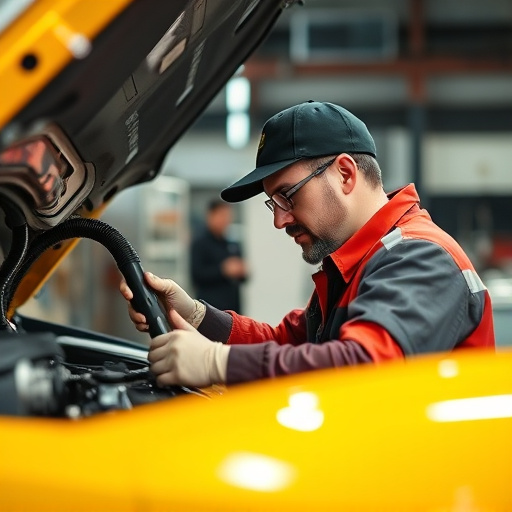
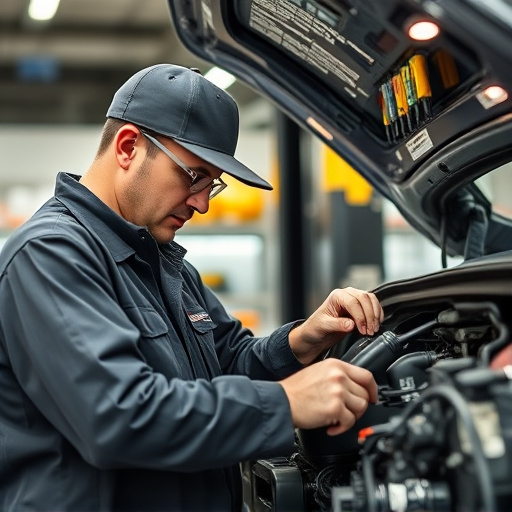
Performing a Tesla repeater camera replacement is a crucial step for ensuring your Tesla’s Vision System remains up-to-date and functional. Here’s a straightforward, step-by-step guide to help you through the process efficiently. First, locate the damaged or outdated camera, usually found on the vehicle’s exterior, near the side mirrors. Next, gather all necessary tools, including a new repeater camera compatible with your Tesla model. Disassemble the old camera by carefully removing any screws or fasteners holding it in place. Take note of the wiring and its connections; proper disassembly ensures a seamless reinstallation later.
Once the old camera is removed, clean the mounting area to ensure optimal adhesion for the new one. Install the new repeater camera, securing it tightly with the appropriate fasteners. Reconnect the wiring, aligning each connection precisely as per your Tesla’s electrical schematic. Test the new camera by powering on your vehicle and verifying its functionality through the Vision System settings. This process not only supports Tesla Vision System updates but also enhances your driving experience by providing clearer, more accurate visuals during navigation and parking aid. Remember that proper installation is key in avoiding future issues, so take your time and double-check each step along the way. In case of any challenges, consider seeking assistance from a professional vehicle collision repair or car restoration service, especially if you’re unfamiliar with frame straightening techniques.
Tesla repeater camera replacement is a game-changer for owners looking to enhance their vehicle’s vision system. By replacing these cameras, not only do you support the latest Tesla Vision System updates, but also gain improved visibility and safety features. The installation process, outlined in this guide, ensures that folks can efficiently navigate the procedure themselves, fostering a sense of empowerment and control over their electric vehicle’s capabilities.